
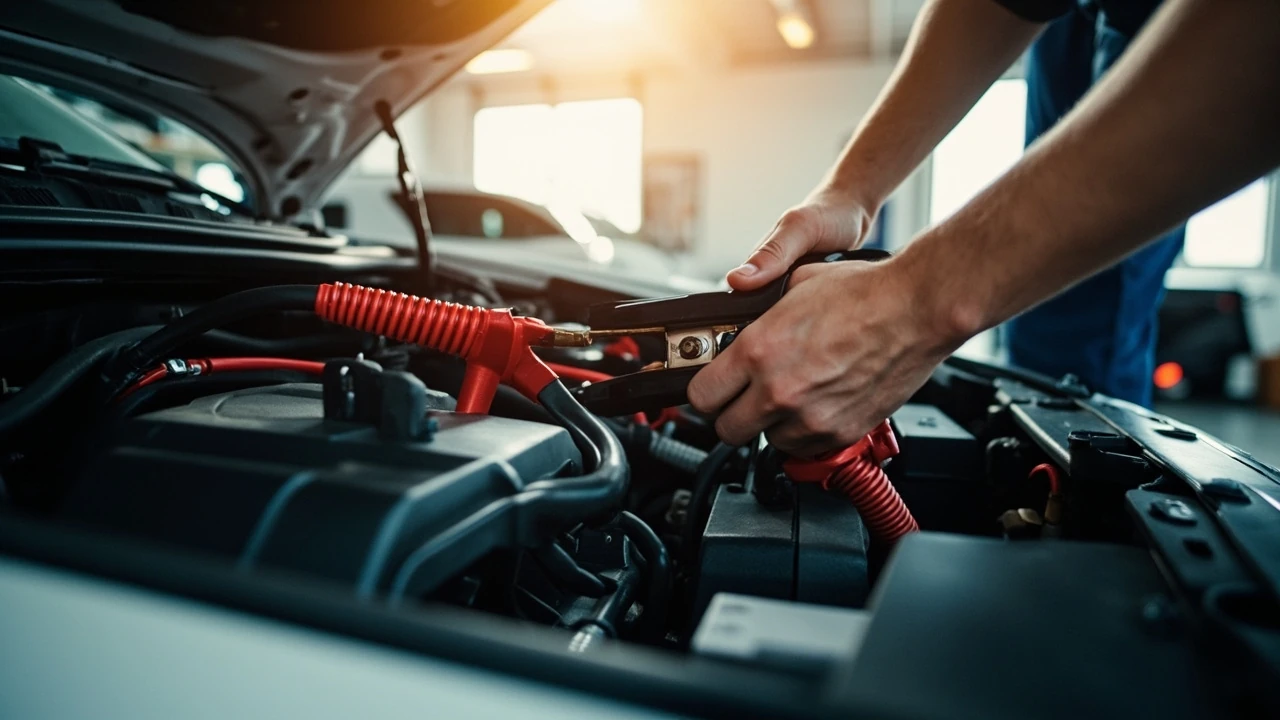
How to jump start a car battery with jumper cables
A dead battery can leave a car stranded with a clicking starter, dim headlights, or no response at all. If the battery is discharged but still in usable condition, another vehicle or a portable jump starter can provide the electrical current needed to turn the engine over. The key is to check the battery first, use matching electrical systems, connect the cables in the correct order, and keep metal tools away from the terminals.
This guide explains how to jump start a car battery, when the procedure is appropriate, and what to check if the engine does not start on the first attempt. Follow the owner’s manual for your vehicle whenever it gives different terminal or connection instructions, especially if the battery is hidden under a seat or hood.
What you need before starting
A jump start requires the right equipment and a safe work area. You do not need to remove the disabled battery unless a technician specifically recommends it. In most cases, the battery can remain in the vehicle while another battery supplies enough current for the engine to crank and run.
| Tool or condition | What to look for |
|---|---|
| Jumper cables | Heavy-gauge, undamaged insulation, secure clamps, and clearly marked red positive and black negative leads |
| Donor vehicle | A compatible vehicle with a healthy 12-volt battery for most passenger cars |
| Portable jump starter | A charged unit rated for the vehicle’s engine size, with its clamps and power level checked |
| Basic protection | Safety glasses, gloves, and a tool that cannot accidentally bridge both battery terminals |
| Safe work area | Outdoor space with dry ground and ventilation, or a garage with the vehicle doors and battery area ventilated |
Most American passenger cars and light trucks use a 12-volt electrical system. Do not connect the batteries of vehicles with different voltages, such as a 6-volt system and a 12-volt system. If one vehicle is a large truck or uses a 24-volt system, confirm compatibility before connecting anything.
Inspect both batteries before handling the cables. A swollen, cracked, leaking, visibly damaged, or frozen battery may rupture when current is applied. Do not attempt a jump start if you smell battery acid, hear hissing, see a white or bluish deposit around a terminal, or notice smoke. A damaged battery needs professional evaluation rather than another attempt.
- Read the owner’s manual for the disabled vehicle and the donor vehicle.
- Locate the battery and identify its positive and negative terminals.
- Confirm that both vehicles use compatible electrical systems.
- Make sure the engine covers, doors, and trunk are open before cranking.
- Remove the ignition key from the disabled vehicle and keep it off until you are ready to start.
Check the condition before connecting the cables
Before assuming the battery is the only problem, consider whether the vehicle is actually receiving power. A starter can click without the engine turning because the battery lacks charge. It can also click because the battery has enough voltage for the solenoid but not enough current to turn the engine over. Conversely, a slow or uneven crank may point to a battery with weak cold-cranking performance, a damaged charging system, or a starter problem.
Observe what happens when you turn the key. If the dashboard lights dim strongly and the starter sounds weak, the battery may be deeply discharged. If the lights remain bright and the starter makes no sound, the issue may involve the ignition switch, starter, fuse, or wiring. If the engine cranks normally but will not fire, a jump start may not solve the problem because fuel, spark, compression, or a mechanical issue could be responsible.
A battery voltage check can help distinguish a low resting voltage from a battery that holds enough charge but cannot support a large load. For common 12-volt systems, a fully charged battery generally rests around 12.6 volts, while a substantially discharged battery reads much lower. See what car battery voltage should be for a more detailed explanation of resting voltage and charging behavior.
Do not confuse a battery that needs a jump with a battery that needs replacement. A jump start supplies a temporary boost. If the battery was fully discharged because of a faulty alternator, a loose terminal, an old battery, or repeated short trips, the same problem may return. The goal of learning how to jump start a car battery is therefore not only to get the engine running but also to recognize why it stopped.
| Symptom before boosting | Likely possibilities | What the jump start may reveal |
|---|---|---|
| Dashboard lights flash and the starter clicks | Low battery charge, weak battery, or poor terminal connection | The engine may crank normally once external power is supplied |
| Headlights are dim and the starter cranks slowly | Discharged or weak battery, possible charging-system fault | A successful crank suggests the battery lost usable charge |
| Starter makes no sound | Starter, fuse, wiring, ignition switch, or battery issue | The engine may still fail to crank even with a boost |
| Engine cranks but does not fire | Fuel delivery, ignition, compression, or intake issue | The jump may restore power but will not necessarily make the engine run |
| Car starts normally but later becomes difficult to start | Battery aging, parasitic drain, or alternator problem | The problem may recur until the underlying fault is repaired |
Connect the jumper cables in the correct order
Park both vehicles close enough that the cables reach comfortably, but do not let the vehicles touch. Turn both engines off. Open the hoods and locate the batteries or designated jump terminals. On many vehicles, the positive terminal is marked with a plus sign or red cover, while the negative terminal is marked with a minus sign or black cover.
If you cannot identify the terminals, stop and check the owner’s manual. Do not guess. Modern vehicles may also have a remote positive terminal and a designated body grounding point. When the manufacturer specifies a ground point, use it instead of connecting directly to the negative battery terminal.
For a basic connection using battery terminals, follow this sequence:
- Clamp one red jumper cable to the positive terminal of the disabled vehicle’s battery.
- Clamp the other red cable to the positive terminal of the donor battery or designated positive jump terminal.
- Clamp one black cable to the negative terminal of the donor battery or the specified grounding point.
- Clamp the other black cable to the negative terminal of the disabled vehicle’s battery or its designated grounding point.
This order helps establish a controlled connection and reduces the possibility of a short circuit. The positive connection is completed first, and the negative connection is completed last. Hold the insulated portions of the cables and avoid letting the metal clamps touch each other or any metal part of the vehicle.
Some vehicles require a different order, so the owner’s manual takes priority. For a broader overview of battery polarity, connection methods, and hazards, consult the reference on vehicle boosting and cable guidance, which provides useful background for this point. It also explains why jumper cables should not be used between different voltage systems.
Watch for sparks when the final clamp contacts the terminal. A small spark can occur during connection, but repeated or large sparking is a warning sign. Disconnect the black lead from the donor vehicle, remove it from the disabled vehicle, and inspect the terminals. Do not continue if the clamp is loose, the battery is damaged, or the cable insulation is split.
Keep the loose end of each cable controlled even when it is not connected. A red clamp that touches a grounded metal surface can create a serious short. The same applies to a black clamp. Arrange the cables so they cannot fall into the engine bay or move against moving belts and fans.
Start the engine and remove the cables in reverse order
Once the cables are secure, start the donor vehicle and let its engine run. The donor alternator can then help maintain voltage while the disabled vehicle starts. Some manuals recommend a brief period with the donor engine running; others specify a different procedure, so use the guidance for your vehicles.
Return to the disabled vehicle. Turn the key to the start position and allow the starter to crank for several seconds. Do not hold the key for long periods or repeatedly cycle the starter in quick succession. If the engine catches, proceed carefully. If it does not start, wait a short period and try once more, provided there is no unusual noise, smoke, or warning light.
After the disabled vehicle is running, leave both engines idling for a few minutes so the charging system can begin replenishing the discharged battery. This does not guarantee that the battery will receive a complete charge. A deeply discharged battery may need several hours on a charger, and some batteries will not recover enough capacity to start the car reliably again.
Remove the cables in the reverse order of connection:
- Disconnect the black cable from the disabled vehicle’s battery or designated ground point.
- Disconnect the black cable from the donor vehicle’s battery or grounding point.
- Disconnect the red cable from the donor vehicle’s battery or positive jump terminal.
- Disconnect the red cable from the disabled vehicle’s battery or positive jump terminal.
Never remove a cable while the engine is cranking. Keep hands, clothing, and loose cables away from moving engine parts. Do not turn off the donor vehicle until the disabled vehicle’s engine is running steadily and the cables have been removed.
Once disconnected, let the revived vehicle run while you check the dashboard for oil pressure, charging, brake, or check-engine warnings. If the engine runs roughly or begins shaking, stop driving and investigate before continuing. A guide to why a car may shake after starting can help distinguish a temporary running issue from a condition that needs prompt attention.
Do not assume the battery is healthy because the engine started. A jump start proves only that external power enabled the engine to crank and that the charging system may now be operating. It does not prove that the battery can hold a charge or that the alternator is charging correctly.
Using a portable jump starter instead
A portable jump starter eliminates the need for a second vehicle. It contains its own battery and clamps that connect directly to the disabled vehicle. Many modern units also display remaining capacity, have reverse-polarity protection, or shut off if the clamps are connected incorrectly.
For the safest results, choose a unit with enough capacity for the vehicle’s engine size and condition it according to the manufacturer’s instructions. Lithium-based units are generally compact and light, while lead-acid units may provide high cranking current but can be much heavier.
Before using the unit, read its instructions and inspect the charger clamps and housing. Charge the jump starter after use, and store it in a temperature range recommended by its manufacturer. Extreme heat and cold can reduce battery performance, while a damaged unit can leak or fail without warning.
Turn off the vehicle, open the hood, and attach the positive clamp to the disabled battery’s positive terminal. Attach the negative clamp to the negative terminal or the designated ground point. Some manufacturers require the jump starter to be switched on before the clamps are connected, while others use an automatic connection sequence. Follow the unit’s instructions rather than assuming every model behaves the same way.
Start the engine. If it does not crank, allow a brief pause and check the charge indicator, clamp connections, and procedural steps. If the unit repeatedly flashes an error or shuts off, do not keep forcing it. A fully charged unit that cannot deliver adequate current may itself be depleted or defective.
- Keep the unit upright and away from rain or standing water.
- Do not touch the exposed metal clamps together while the unit is active.
- Do not leave the clamps attached to the battery after the engine starts.
- Remove the unit before working around moving engine components.
- Carry a backup power source or arrange roadside assistance if the primary method fails.
A portable jump starter can also recharge a phone or run small devices, but its USB outputs are not intended to replace a connection capable of carrying starter current. Likewise, connecting two vehicles through accessory sockets is not equivalent to using heavy-gauge jumper cables because those circuits are designed for much lower current.
What to do when the engine will not start
If the engine cranks but does not fire after a correctly connected jump, the battery may not be the only issue. Fuel delivery, ignition, compression, intake, or mechanical problems can prevent a running engine. The jump starter provides electrical power, but it cannot correct those faults.
Use the following sequence to avoid repeating the same failed attempt unnecessarily:
- Turn the key off and disconnect the cables or portable jump starter.
- Check that every clamp is connected to the correct terminal or specified grounding point.
- Confirm that the donor vehicle or portable unit has adequate charge.
- Look for a warning light, illuminated malfunction indicator, or obvious fuel-door or hood problem.
- Listen for a normal crank, an unusual grinding sound, or repeated rapid clicking.
- Allow the engine to cool if it cranks unusually fast or smells hot.
- Arrange roadside assistance or vehicle service if the problem remains.
Repeated rapid clicking usually indicates that the battery or its connections cannot supply enough current. Slow cranking points in the same general direction, although starter motor wear or cold weather can also slow the engine. A complete lack of sound may involve the starter circuit, a fuse, the ignition switch, or wiring.
Do not keep a jump starter attached for an extended period unless the instructions explicitly describe it as a charger. Some portable units can charge a battery slowly, but an automotive charger or professional service is better suited to recovering a deeply discharged battery.
| What happens | Likely explanation | Next reasonable step |
|---|---|---|
| Engine starts and runs normally | The battery was discharged but the charging system is operating at least well enough to run | Drive only as needed and have the battery and charging system tested |
| Engine starts but warning lights remain | Possible charging, oil pressure, or electrical-system issue | Stop the vehicle and investigate before driving |
| Engine cranks slowly or stops repeatedly | Weak battery, poor connection, or starter draw | Check voltage and connections; seek service if the condition continues |
| Engine cranks normally but never fires | Fuel, ignition, compression, or mechanical issue | Arrange professional diagnosis |
| Starter makes no sound | Open circuit, fuse, ignition switch, starter, or wiring issue | Do not keep boosting; have the starter circuit inspected |
Watch the battery after the jump. A healthy battery should not become excessively hot, swell, leak, or emit an acid odor. If it does, disconnect the equipment when safe and move away from the battery. A battery that loses charge quickly, requires repeated jump starts, or shows physical damage should be replaced and tested for the cause.
Check the battery and charging system afterward
A jump start is temporary support, not a repair. The vehicle’s charging system should replace the energy used to crank the engine and maintain the battery’s state of charge. If the battery was only moderately discharged and had no underlying fault, the alternator may recharge it during normal driving. If it was severely depleted, a longer charging period may be needed.
Consider having the following checked if the battery died unexpectedly, the car was recently replaced, or it required a jump after only a short period of normal use:
- Battery age, capacity, and ability to accept a charge
- Loose, corroded, or heat-damaged battery terminals
- Alternator output and charging control
- Voltage regulator performance
- Parasitic drain from lights, accessories, modules, or an improperly installed device
- Starter motor draw and other high-current electrical faults
Corrosion around a terminal can reduce contact and make starting harder. If cleaning is needed, use appropriate tools and follow safety guidance. Avoid placing metal across the terminals, and keep metal jewelry away from the battery. Disconnect the negative terminal first when a full battery removal is being performed, then reconnect it last, but specific vehicle procedures may differ.
Driving the vehicle for a short time is not a substitute for testing a weak battery. Once the engine is running, the alternator supplies current to electrical accessories and replenishes the battery, but a severely depleted battery may not charge quickly enough for the next start. A battery charger designed for the battery chemistry may be more appropriate than repeated short drives.
Prevent future failures by checking the battery and charging system during routine service, especially if the vehicle is more than a few years old, has an aftermarket alarm, stereo, lighting system, or trailer wiring, or spends short periods parked between drives. If the vehicle repeatedly needs a jump start, repeated boosting can hide a larger electrical problem and may create avoidable strain on the battery and starter.
Frequently asked questions
Can I jump start a car with the engine already running?
No. Turn the donor engine off while attaching jumper cables. Running the donor engine creates a momentary voltage difference and increases the chance of an arc or electrical damage. Start the donor engine only after both cable sets are connected according to the procedure and owner’s manuals.
Do I connect red or black first?
With the vehicles off, connect the red positive clamp to the disabled battery first, then to the donor battery. Connect the black negative clamp to the donor battery and then to the disabled battery or designated grounding point. When removing the cables, reverse that order. Always follow vehicle-specific instructions if they differ.
Why does my car click instead of starting?
Rapid clicking usually means the battery has enough voltage to energize the starter solenoid but not enough current to move the starter motor. A discharged battery, corroded connection, or weak battery is common. If a properly connected jump does not change the symptom, the starter circuit or another electrical component may need inspection.
Can I jump start a car in the rain?
Light rain is not an automatic reason to proceed, but you should protect the equipment and work where water cannot pool around the battery or engine. Dry the connection points and keep the portable unit, cables, and your hands as dry as practical. Lightning, flooding, or standing water are reasons to wait and seek assistance.
How long should I let the car run after a jump start?
Let the engine run steadily for several minutes before disconnecting the equipment, following the owner’s manual. That gives the charging system time to begin replenishing the battery, but it may not fully charge a deeply discharged battery. Avoid shutting the engine off shortly afterward if you suspect the battery may not restart.
Do I need a portable jump starter or are jumper cables enough?
Jumper cables and a compatible donor vehicle are the traditional option. A portable jump starter is convenient for solo drivers and often stores more easily, but it must have adequate capacity and be charged. Either method can fail if the underlying fault is a damaged battery, incompatible electrical system, defective starter, or malfunctioning charging system.
How many times can I jump start the same car?
There is no fixed safe count, but repeatedly restarting a car with the same discharged battery is a warning that something needs attention. After one successful jump, have the battery, terminals, alternator, and parasitic draw checked if the failure was unexpected. Never continue trying if the battery is hot, swollen, leaking, or damaged.
Is it safe to jump start a car in an enclosed garage?
It is safer to work outdoors with dry ground and good ventilation. Batteries can release flammable hydrogen gas, especially when charging, and vehicle engines produce exhaust. If you must use a garage, open the vehicle doors and hood for ventilation and make sure the exhaust has a clear path outdoors.
What should I do if the battery is swollen or leaking?
Do not attach cables or attempt to start the vehicle. Keep away from the battery, avoid touching leaked material, and contact roadside assistance or a battery professional for safe handling. A swollen, cracked, frozen, or leaking battery can rupture and should be treated as a hazardous component rather than another jump-start candidate.
Leave a Reply